The Process of Getting a Filling

A filling is a simple fix that can stop decay, strengthen the tooth and get you back to comfortable chewing. If you have never had one, the unknowns can feel bigger than the problem.
This guide walks you through the tooth-filling process from the first twinge to the final polish, so you know exactly what to expect in the chair and afterwards.
When a filling is likely to be recommended
You might notice a zing with cold water, food packing in the same spot, or a shadow you can see in the mirror. During an examination, your dentist checks for soft spots, staining that does not brush off, and any defects in older restorations. Small cavities are often best treated with a filling before they deepen. For a clear overview of what a filling does and the common materials, see the national summary on dental fillings from Healthdirect.
The tooth filling process from start to finish
1. Assessment and planning
Your dentist listens to your symptoms, examines the tooth and surrounding gums, and may take a bitewing x-ray to confirm the depth and position of decay. If you want a simple refresher on routine dental timing, read our guide on how often to visit the dentist.
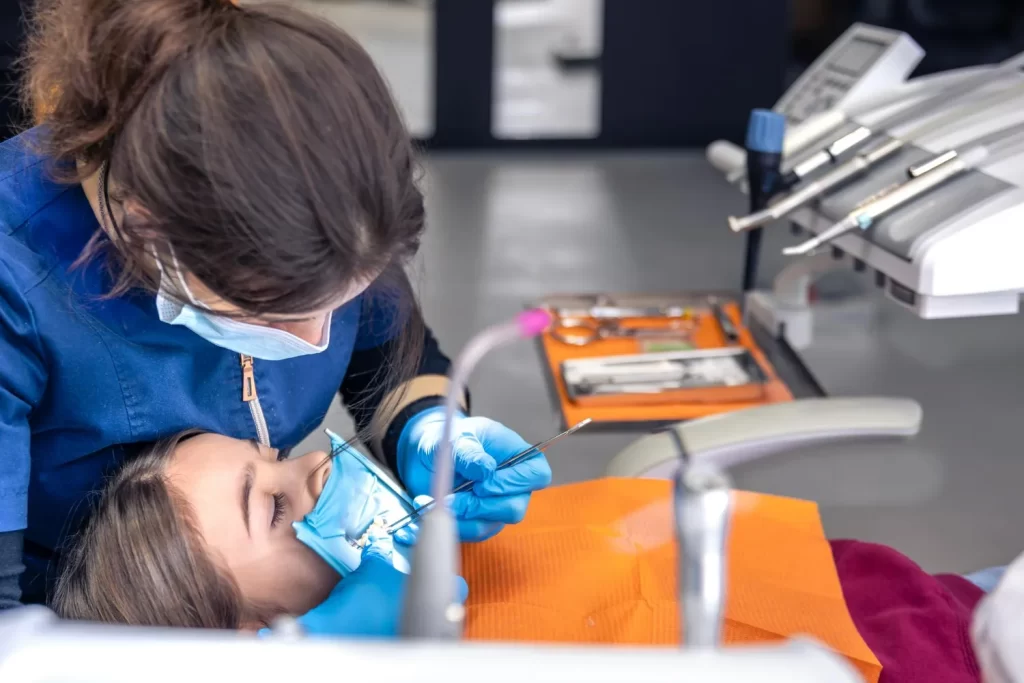
2. Anaesthesia and comfort check
A small amount of local anaesthetic numbs the tooth and the gum next to it. You will still feel a gentle vibration and water spray, not pain. Your lip, cheek or tongue may feel puffy for a couple of hours.
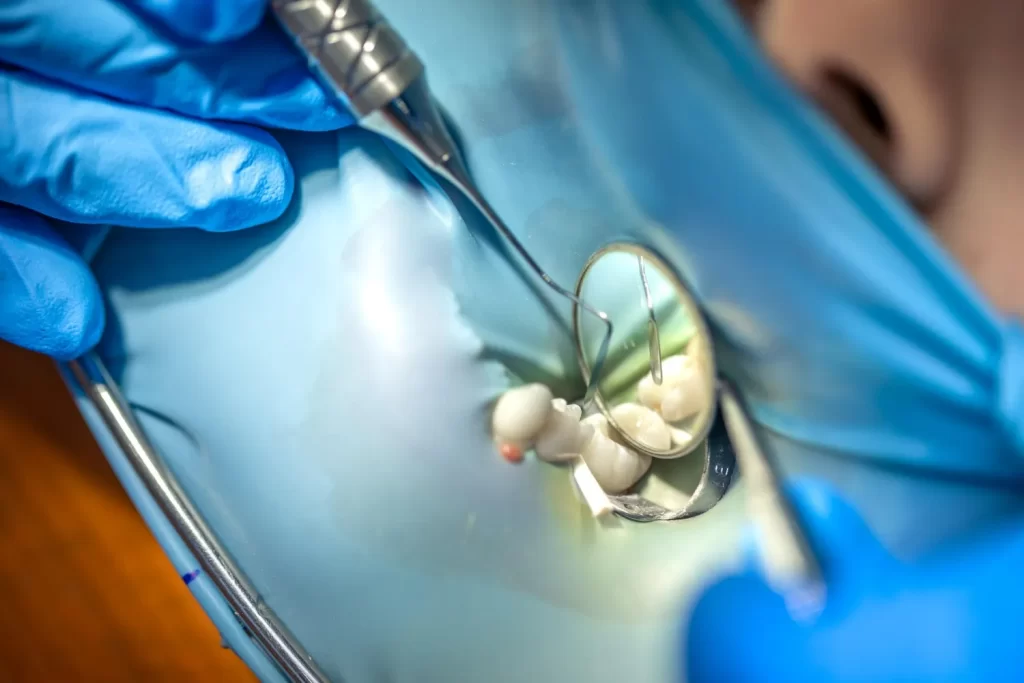
3. Isolation and moisture control
Keeping the area dry helps fillings bond well and last longer. Many dentists use a small rubber sheet called a rubber dam, which also keeps water out of your throat and gives you a calmer, less splashy experience. Evidence suggests rubber dam can improve the quality of some restorative work. You can browse the research summary in the Cochrane review on rubber dam for restorative treatments.
4. Decay removal and cavity shaping
The dentist removes softened, infected tooth tissue using a handpiece and fine burs. You may notice a clean, slightly medicinal scent from the disinfectant. The remaining enamel and dentine are shaped so the chosen material will seal properly. If the cavity is close to the nerve, a soothing liner may be placed first.
5. Placement of the filling
The exact steps depend on the material:
- Composite resin is placed in thin layers, each one light-cured, so it hardens. The surface is built back to match the tooth’s natural grooves.
- Glass ionomer cement is mixed and packed into the cavity. It bonds chemically and releases fluoride.
- Amalgam is condensed and carved while soft, then sets over the next few hours.
For a deeper look at materials and when they are used, the Better Health Channel’s guide to dental fillings is a useful reference.
6. Shaping, polishing and bite check
Once the material is set, your dentist refines the contours so that floss slides smoothly and food does not catch. Coloured marking paper helps check the bite. You will be asked to tap and slide your teeth together until everything feels even.
7. Aftercare and what to expect
Your cheek and tongue may feel odd while the anaesthetic wears off. Some teeth feel mildly tender to cold or pressure for a week or two, especially after deep decay. This usually settles as the nerve calms down. If you get sharp pain on biting or prolonged sensitivity that does not improve, book a review. For treatment paths when decay is spotted early, here is our plain-spoken explainer on how to repair decayed teeth.
A handy timeline at a glance
| Stage | What happens | Typical chair time |
| Assessment | Examination, x-ray if required, plan agreed | 5 to 15 minutes inside a standard check |
| Numbing | Local anaesthetic placed, comfort confirmed | 2 to 5 minutes |
| Isolation | Rubber dam or cotton rolls positioned | 1 to 3 minutes |
| Decay removal | Cleaning and shaping of the cavity | 5 to 15 minutes, depending on size |
| Filling placed | Composite layering or other material is placed | 5 to 20 minutes |
| Polish and bite | Contouring, bite check, instructions | 3 to 8 minutes |
Times vary with tooth position, size of the cavity and your bite.
What it feels like in the chair
- The water spray is cool, and the suction keeps the mouth comfortable.
- You feel vibration from the handpiece rather than pain.
- The rubber dam spreads gently over the tooth and makes breathing feel easier because less water pools in the mouth.
- The final polish leaves a glassy surface that your tongue glides over.
Choosing the right material during the process
Your dentist recommends a filling material based on cavity size, visibility in your smile and chewing load. A quick rule of thumb:
- Front teeth or small back-tooth repairs often suit composite for a natural look.
- Areas near the gum in high-decay-risk mouths may benefit from glass ionomer because of fluoride release.
- Large load-bearing repairs sometimes need a stronger solution, or a lab-made inlay or onlay. If the defect is too large for a standard filling, your dentist may discuss a cap to protect the tooth. Read about everyday options such as crowns and bridges.
Eating and drinking after your filling
- With composite or glass ionomer, you can eat once the numbness has lifted.
- With the newly placed amalgam, avoid very hard or sticky foods for the rest of the day while it fully sets.
- Take care not to bite your cheek or tongue while numb.
How to care for a new filling
- Brush twice a day with a fluoride toothpaste and clean between teeth once a day.
- Aim for gentle, thorough strokes that polish the join between filling and tooth.
- Avoid using teeth to open packets and be sensible with very hard lollies or ice.
- If you clench or grind, ask about a night guard. It protects both restorations and natural teeth.
Common questions, answered briefly
Will it hurt?
With anaesthesia, most patients feel vibration and pressure rather than pain.
How long will the filling last?
That depends on the material, the size of the repair and your oral habits. Regular check-ups help spot small issues before they become big ones.
What if the cavity is deep?
Your dentist may place a liner to soothe the nerve. If the nerve is already inflamed or infected, root canal therapy could be needed instead of, or as well as, a filling. If that is the case, see our information on root canal therapy.
Red flags after a filling
Contact your dentist if you notice:
- Sharp pain when biting that persists
- Sensitivity to hot or cold that lasts longer than a few weeks
- A chip or a piece of the filling breaking away
- Food packing or a rough edge that does not smooth out
Simple checklist to prepare for your appointment
- Eat a light meal an hour before, so you are not hungry while numb.
- Take regular medications as usual unless advised otherwise.
- Tell your dentist about any allergies or past reactions.
- Plan not to chew hard foods until the numbness fades.
- Bring a list of questions. A good one is, “What material are you recommending, and why for this tooth?”
Final Thoughts
If you would like a calm, thorough appointment with clear guidance at each stage, our team can help. Book an assessment through our General Dental page, and we will examine the tooth, explain the filling process in simple terms, and map out a plan that gets you comfortable again.